
Why You Need a Mortar and Pestle in Your Kitchen Arsenal

Mortar and Pestle Fundamentals That Change Your Cooking
You don’t need more gadgets. You need a few tools that consistently deliver results.
A mortar and pestle is one of those tools. It’s the kitchen equivalent of dependable kit: simple, durable, and effective under real conditions.
In training, we learned quickly that gear earns its place by doing one job extremely well, even when you’re tired and rushed. The mortar and pestle does that for flavor.
Below is a practical, sequential walk-through of why it belongs in your kitchen arsenal and how to put it to work tonight.
Crushing vs. Cutting: what actually happens to ingredients
A knife slices cleanly, but slicing isn’t always what you want. Crushing and grinding rupture more cells in garlic, herbs, seeds, and spices.
That rupture releases aromatic oils and moisture that would otherwise stay trapped. Think of a mortar and pestle as controlled friction.
You’re not just reducing size; you’re changing texture and chemistry. That’s why mortar-made garlic paste tastes more integrated than minced garlic, and why freshly ground cumin smells like a different ingredient than the pre-ground jar.
If you’ve ever wondered why restaurant food tastes “rounder,” this is part of it. Pros often build flavor with pastes and freshly ground aromatics instead of relying only on chopped pieces.
The two core techniques: pounding and smearing
Most people only pound. Pounding breaks hard items like peppercorns and coriander seeds.
Smearing is the other half of the skill set. You press and drag the pestle against the bowl to create cohesive pastes from wet ingredients like garlic, ginger, anchovies, herbs, and chilies.
You’ll usually use both techniques in sequence:
- Pound to crack and break down.
- Smear to turn fragments into a smooth paste.
This matters because paste is a delivery system. When you mix a paste into oil or broth, it disperses evenly, seasoning the whole dish instead of leaving pockets of heat or raw garlic bite.
Why a “manual” tool belongs next to modern appliances
A blender can liquefy. A food processor can chop.
Neither is great at small-batch pastes without turning them watery or leaving stubborn bits stuck to the sides. That’s a real problem when you only need one clove of garlic or a teaspoon of spices.
The mortar and pestle shines in 30-second bursts:
- One clove of garlic
- A teaspoon of seeds
- A handful of herbs
That’s most weeknight cooking. It also gives you feedback as you work. You can feel when spices go from gritty to powdery, or when garlic goes from chunky to smooth.
With the fundamentals handled, you’re ready to talk about the payoff: flavor.
Flavor and Aroma: Why Grinding Beats Chopping
Volatile oils and the “fresh ground” difference
Spices and herbs contain volatile aromatic compounds that dissipate with time and exposure. When you grind right before cooking, you capture those compounds at their peak.
You don’t have to take it on faith. Harvard’s Nutrition Source notes that herbs and spices contain a wide range of bioactive compounds and aromatics that contribute to flavor and potential health benefits. Freshness affects how much of that you actually experience in the dish. See: Herbs and Spices (Harvard T.H. Chan School of Public Health).
Practically, it means cumin, pepper, and coriander become louder and more complex when freshly crushed. You’ll often find you can use less while getting more flavor.
Garlic, alliinase, and why paste tastes different
Garlic is a classic mortar ingredient because crushing changes its character. When you crush garlic, an enzyme reaction helps form allicin and other sulfur compounds responsible for garlic’s pungency.
The chemistry is detailed, but the kitchen takeaway is simple: how you break garlic cells affects intensity and aroma. NIH-hosted resources discuss how crushing influences these compounds. For deeper reading, start here: Garlic and allicin-related chemistry (NIH/NLM).
In practice, mortar-made garlic paste disperses cleanly into:
- Olive oil and vinaigrettes
- Mayonnaise and aioli
- Salad dressings
- Marinades
You get garlic flavor without biting into raw chunks.
Texture builds flavor, not just mouthfeel
Texture isn’t just a “feel” thing. Texture controls how flavor releases.
A coarse crush of black pepper gives bursts of heat. A fine grind gives steady warmth throughout.
A chunky salsa tastes brighter because fresh pieces release juice when you chew. A smoother salsa can taste deeper because the aromatics and salt are more evenly distributed.
Once you start paying attention to grind size, you’ll stop treating spices as a fixed measurement. Instead, you’ll treat them as a dial you can turn.
Next, you need the right tool for the job-because material choice affects both flavor and effort.
Mortar Materials That Make or Break the Experience
Granite, molcajete, marble, wood, and ceramic: what each does well
Material affects friction, weight, and how well the bowl “grabs” ingredients. In other words, it affects how fast you get results-and how consistent those results are.
Granite is the workhorse. It’s heavy, stable, and rough enough to grind efficiently.
It’s also versatile. Granite handles dry spices and wet pastes without much fuss.
A traditional volcanic stone molcajete is excellent for salsas and guacamole because the surface texture breaks down tomatoes, chilies, and aromatics without turning them into soup.
Marble is smoother, which can be good for gently bruising herbs. It’s slower for hard spices, though.
Ceramic can work well if it’s unglazed inside and has some tooth. Wood is gentle and classic for certain cuisines, but it can hold odors and moisture if you’re not disciplined about drying.
At-a-glance comparison table
| Material | Best For | Pros | Cons |
|---|---|---|---|
| Granite | Dry spices, garlic/ginger paste, curry bases | Heavy, durable, high friction | Can be messy if bowl is shallow |
| Molcajete (volcanic stone) | Salsas, guacamole, wet grinding | Texture grips ingredients, iconic results | Needs thorough seasoning; can shed grit if poorly made |
| Marble | Herbs, soft aromatics, light crushing | Smooth, easy to clean | Struggles with hard seeds; less efficient |
| Ceramic | Small batches, moderate grinding | Often lighter, affordable | Can chip; glazed interiors may be too slick |
| Wood | Bruising herbs, certain spice pastes | Gentle, traditional | Absorbs odors; needs careful drying |
If you want one mortar to do most jobs well, granite is usually the safest bet.
The stability test you should do before buying
Before you commit, do a basic stability check. Set the mortar on a counter and press down on the rim with one hand.
- If it rocks, it will frustrate you under load.
- If it sits dead stable, you’ll use it more.
Next, look inside. You want an interior surface with some texture, not glass-smooth. Texture is traction, and traction is efficiency.
Finally, check the pestle. A pestle that’s too narrow will take longer and can slip. A pestle with a broad grinding face gives you better contact and faster results.
Once you’ve picked the right material, the next decision is sizing and ergonomics-because a tool you hate holding won’t get used.
Pestle Shapes and Sizes That Actually Work in Daily Cooking
Size selection: match the bowl to your real batch sizes
A huge mortar looks impressive, but it’s not always practical. If you mostly cook for one to four people, a medium mortar (roughly 2 to 4 cups capacity) covers most needs.
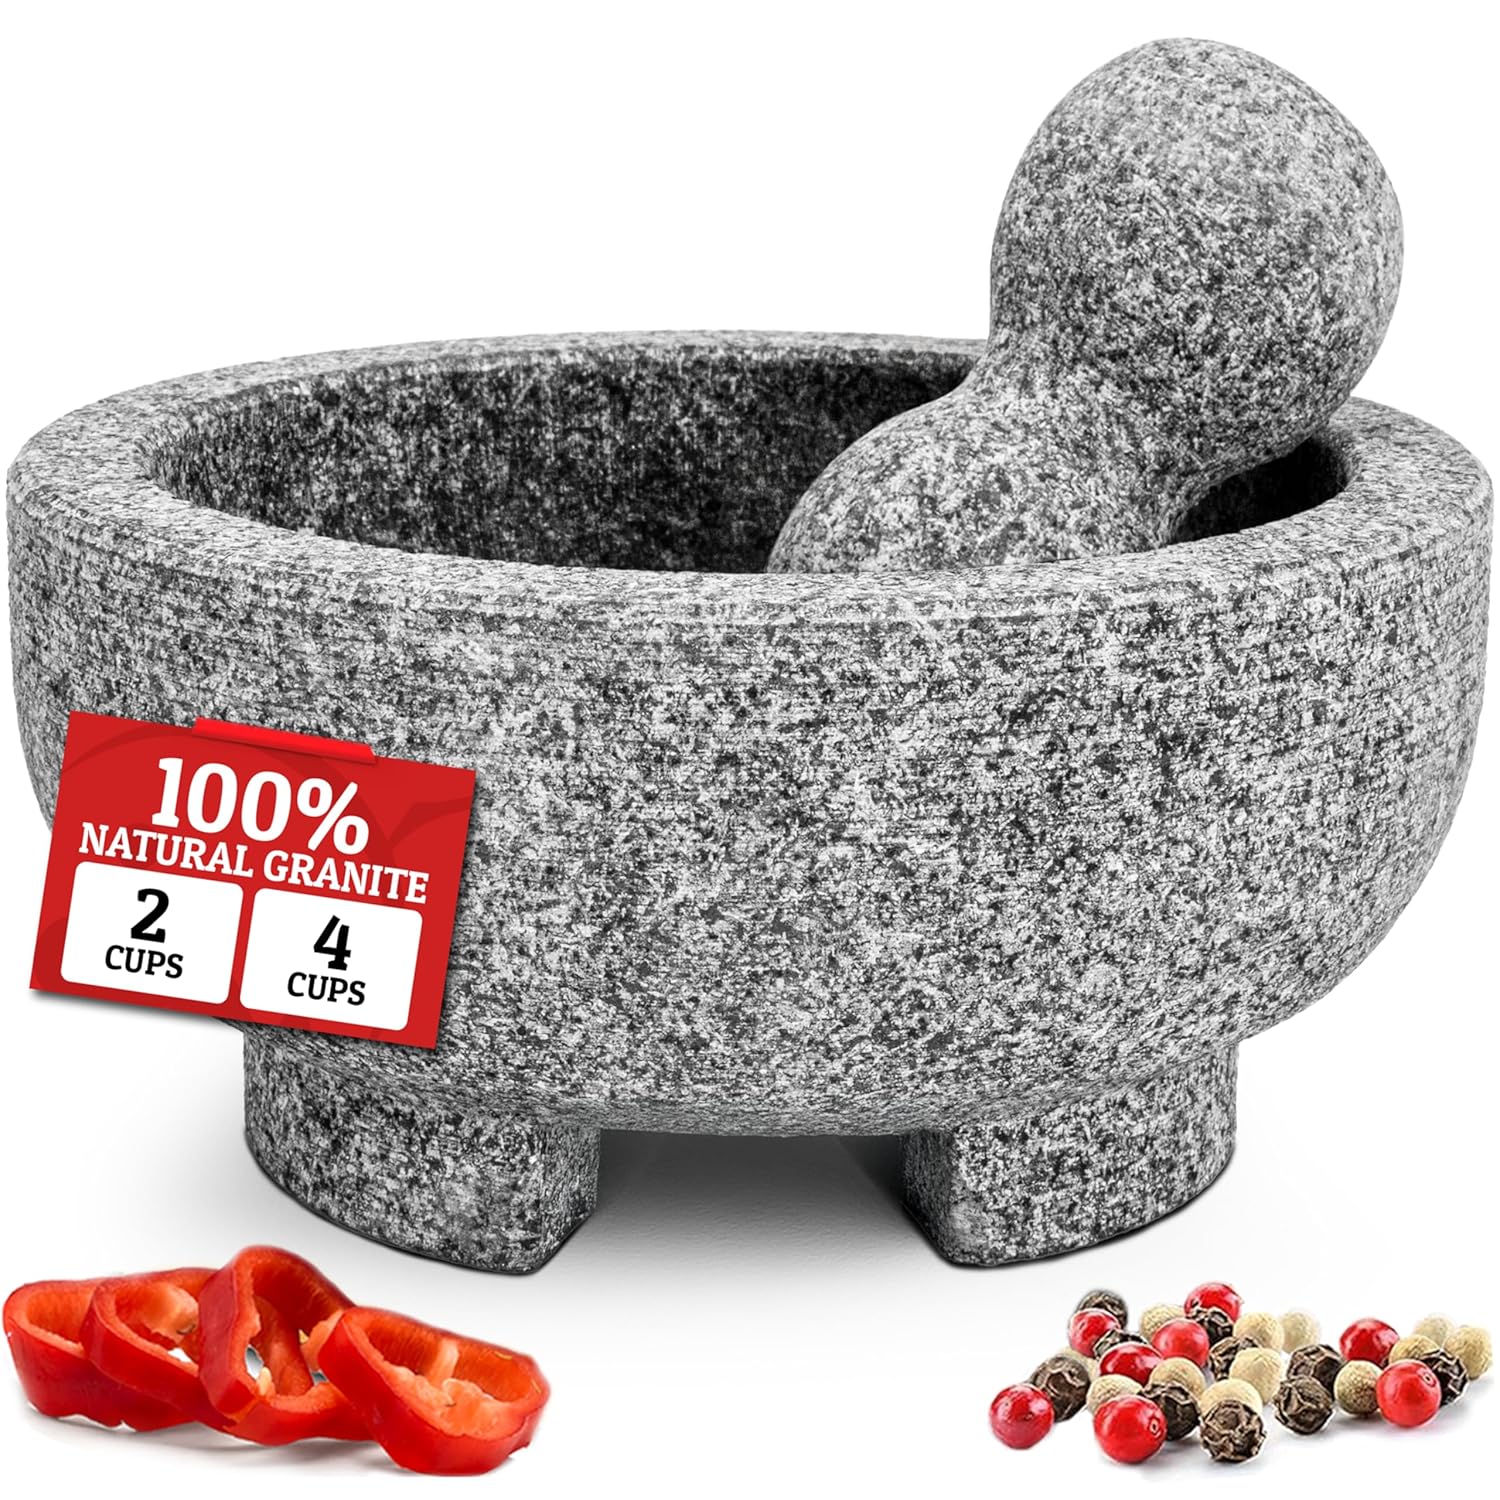
Granite Mortar and Pestle Set
A premium granite mortar and pestle set with a heavy, textured grinding surface that makes crushing herbs, spices, and pastes easier and more effective. The natural stone construction provides durability and weight for better grinding results and lasting performance in kitchen prep.
Too small and ingredients jump out while you pound. Too big and you’ll avoid it for quick jobs because it feels like overkill.
A good rule: your mortar should hold at least three times the volume of what you plan to grind. That headspace gives you room to work without launching peppercorns across the kitchen.
If you routinely make guacamole, curry paste, or salsa for groups, a larger molcajete-style bowl makes sense. For everyday spice grinding, medium is the sweet spot.
Pestle ergonomics: your wrist will tell the truth
A mortar and pestle should feel secure, not awkward. The pestle should fit your grip so you can pound with control and smear without strain.
Look for a pestle with a comfortable shaft and enough weight to let gravity do some work. Heavier pestles reduce the temptation to muscle through the job, which is when you start smashing instead of grinding.
Also pay attention to the working end:
- Rounded end: versatile for smearing pastes
- Flatter end: excellent for grinding dry spices
Many good pestles blend both shapes.
If possible, do a dry-hand test in the store. Mimic a grinding motion. If your wrist feels cocked or cramped, keep looking.
A simple “contact patch” check for efficiency
Efficiency comes down to contact. If only a tiny point of the pestle touches the bowl, you’re working harder than you need to.
You want a reasonable contact patch between pestle and bowl so pressure is distributed. That contact creates consistent grind size and makes smearing easier.
Try this quick check at home:
- Place 1 teaspoon of rice in the mortar.
- Do ten gentle grinding circles.
If the rice mostly skitters around intact, you probably have a slick bowl or a pestle that doesn’t match the curve. If it starts breaking down quickly, you’ve got a good working geometry.
Now that the tool fits your hand, it needs to be prepped so your food doesn’t taste like stone dust.
Seasoning and Breaking In Your Mortar Like a Piece of Kit
Why seasoning matters (especially for molcajetes and rough granite)
Some mortars arrive ready to use. Others need seasoning to remove loose grit and smooth the highest points inside the bowl.
With volcanic stone molcajetes in particular, seasoning is non-negotiable. If you skip it, you can end up with gritty salsa, which is a fast way to hate the tool.
Seasoning is essentially controlled abrasion. You’re cleaning microscopic dust and stabilizing the surface so only your ingredients end up in the food.
Treat it like breaking in boots: do it once with discipline, and you get years of reliable performance.
Step-by-step seasoning checklist
Use this process for a new molcajete or rough granite mortar.
- Rinse the mortar and pestle with warm water (no soap yet).
- Add a handful of dry white rice.
- Grind the rice in circles, then pound lightly for 3-5 minutes.
- Dump the rice. If it’s gray, that’s the grit you’re removing.
- Repeat with fresh rice until it stays mostly white.
- Optional: grind 1 tablespoon of coarse salt to help scrub the surface.
- Rinse again and let it air dry completely.
Quick reference: If you can grind rice without it turning gray, your mortar is generally ready for food.
A field-expedient habit: pre-grind “sacrificial” spices
Once seasoned, you can further condition the mortar by grinding a small amount of sacrificial spices you don’t mind wasting, such as cumin, coriander, or dried chilies.
This does two things. It helps fill tiny pores with aromatic oils, and it shows you how the mortar behaves with real ingredients.
Afterward, wipe it out and let it dry. Your next batch will smell better, grind faster, and stick less.
This isn’t mandatory, but it’s smart if you plan to use the mortar frequently. Small investments up front prevent frustration later.
With seasoning handled, it’s time to put the tool to work on the jobs that give you the fastest return.
Everyday Jobs Where a Mortar and Pestle Wins
Garlic paste, ginger paste, and the 60-second sauce base
If you only use your mortar for one job, make it garlic paste. Add a pinch of coarse salt (it acts as an abrasive), then smear the garlic against the bowl until smooth.
From there, you can build quick sauces without thinking too hard:
- Mash garlic with lemon zest, salt, and a pinch of chili flakes.
- Stir in olive oil for an instant dressing.
Do the same with ginger for stir-fries. Ginger paste, garlic paste, and a splash of soy sauce becomes a fast marinade for chicken thighs.
Once you see how fast it is, you’ll stop reaching for pre-minced garlic. The flavor difference is immediate.
Grinding whole spices for smarter seasoning control
Whole spices are more stable than pre-ground. They keep their aromatic oils longer, and you grind only what you need.
Use the mortar to:
- Crack peppercorns for steaks
- Grind cumin for tacos
- Crush fennel seed for sausage or roasted vegetables
You can choose coarse or fine depending on the dish. Coarse gives pops of intensity. Fine gives even coverage.
If you want a simple system, keep notes on your preferred grind for your staple meals. That’s how you build repeatable results without measuring everything.
Small-batch pesto and herb pastes without turning bitter
Blenders can bruise herbs aggressively and sometimes produce bitter notes, especially if you over-process. The mortar gives you more control because you can stop the moment the texture looks right.
A practical workflow looks like this:
- Pound garlic with a pinch of salt.
- Add nuts (pine nuts, walnuts, or almonds) and crush to a rough meal.
- Add herbs in small handfuls and smear until they break down.
- Drizzle in oil gradually, smearing between additions.
The result is a thicker, more textured paste that clings to pasta and tastes “alive.” It’s also easier to scale down to one serving, which is where machines usually struggle.